Everyone has a hobby. Mine is mostly fussing. I will fuss about anything and everything and worry with the same obsession a puppy goes after a rope toy. It’s no wonder then that, before a photo shoot, I fuss. In fact, fussing has become an essential part of my photo shoot prep. The method I employ now took me a while to work out, and there were some hiccups along the way.
Fussing before a photo shoot has a double purpose. For one, it ensures that there is no fussing on the set, because I am all fussed out, and more importantly, because there is nothing to fuss about, I can dedicate myself to the shoot completely.
There is nothing worse for the model, or the photographer, to have to interrupt the flow of the shoot because something is forgotten, or the model’s mind is miles away. Your emotions reflect on your face, and the last thing you’d want is to look perplexed, constipated, or miserable.
Read on to find out how to get the best out of your photo shoot.

1. Find your inspiration
For me, inspiration is the most important part. Inspiration, as I wrote previously, can come in a flash, or be a lengthy process. But what it does is give you an idea of what you want your shoot to look like. This idea is later refined, but it all starts with that first spark, with that first question- What do I want to say with this shoot?
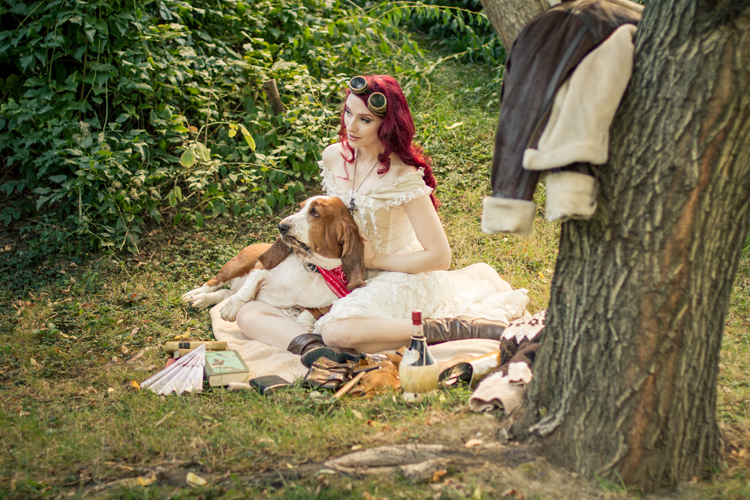
You don’t have to answer some huge questions about the life, universe and human condition. You might just want to show a nice day in the park, a stroll through a city, the beginning of a journey, or the end of one. You might want to create an elaborate, fairytale scene, or convey a certain emotion. As long as you say something besides: I’m standing there looking my best. That’s what your daily outfits and selfies are for, a way of saying hello to the world.
I like to create Pinterest inspirational boards for my photo shoots as they are a great way for me, the photographer and a set mistress (if one is present) to share the same vision. They also serve as a great reminder for my makeup, hair and accessories inspiration!
2. Choose your location
Now that you know what you want, you need to find where you want to do it, and when you want to do it. For indoor venues, you will probably need to obtain a permission or a permit, unless you are willing to just show up and say- hello, we were passing by and saw your lovely cafe/restaurant/woodland shed and would like to take a few pictures. Would that be ok? If you rely on this method, you have to take into account that someone will yell Geroffmahlawn and you will need to have an alternative prepared.
Public spaces, on the other hand, are much easier when it comes to permissions and permits. Anyone can snap pictures in public. But in that case, you will have to be prepared to ignore rubberneckers, dodge passers by, let a tourist take your photo, and maybe stop to chat with people who want to know what’s going on.
The time of your photo shoot is also important. If you want a gorgeous farmer’s or Christmas market, you will have to get there somewhere between the time the vendors set up and the crowds start coming in, and if you want a public park, you will have to make your peace with the fact other people want to be there and relax on the weekends. A beautiful old street will be as interesting to you as it will to tourists.
And even the best planned outdoor photo shoots can be ruined by the weather, so make sure you check the forecast and plan accordingly, though I did have some very fun photo shoots in the rain!

3. Do a makeup and hair test
Even if you do have a stylist doing your hair, and a makeup artist doing your makeup, you will have to meet up with them, online or offline, and arrange exactly how and when will your MUAH be done. If the makeup and hair are elaborate, it might be prudent to test them.
If you are doing your MUAH yourself, do a test to see how long it will take you to do a certain hairstyle, how long to do your makeup. This is also the best time to experiment and be inspired, go wild, it washes off! Practice if needed. Wonky eyeliner and messy makeup make you look amateurish.
Later, as you get used to doing certain hairstyles and makeup, and are doing smaller photo shoots you can skip this step, but as I usually shoot several outfits, I like to have hairstyles that I can change and re-set on the set to get a different look. This takes planning.
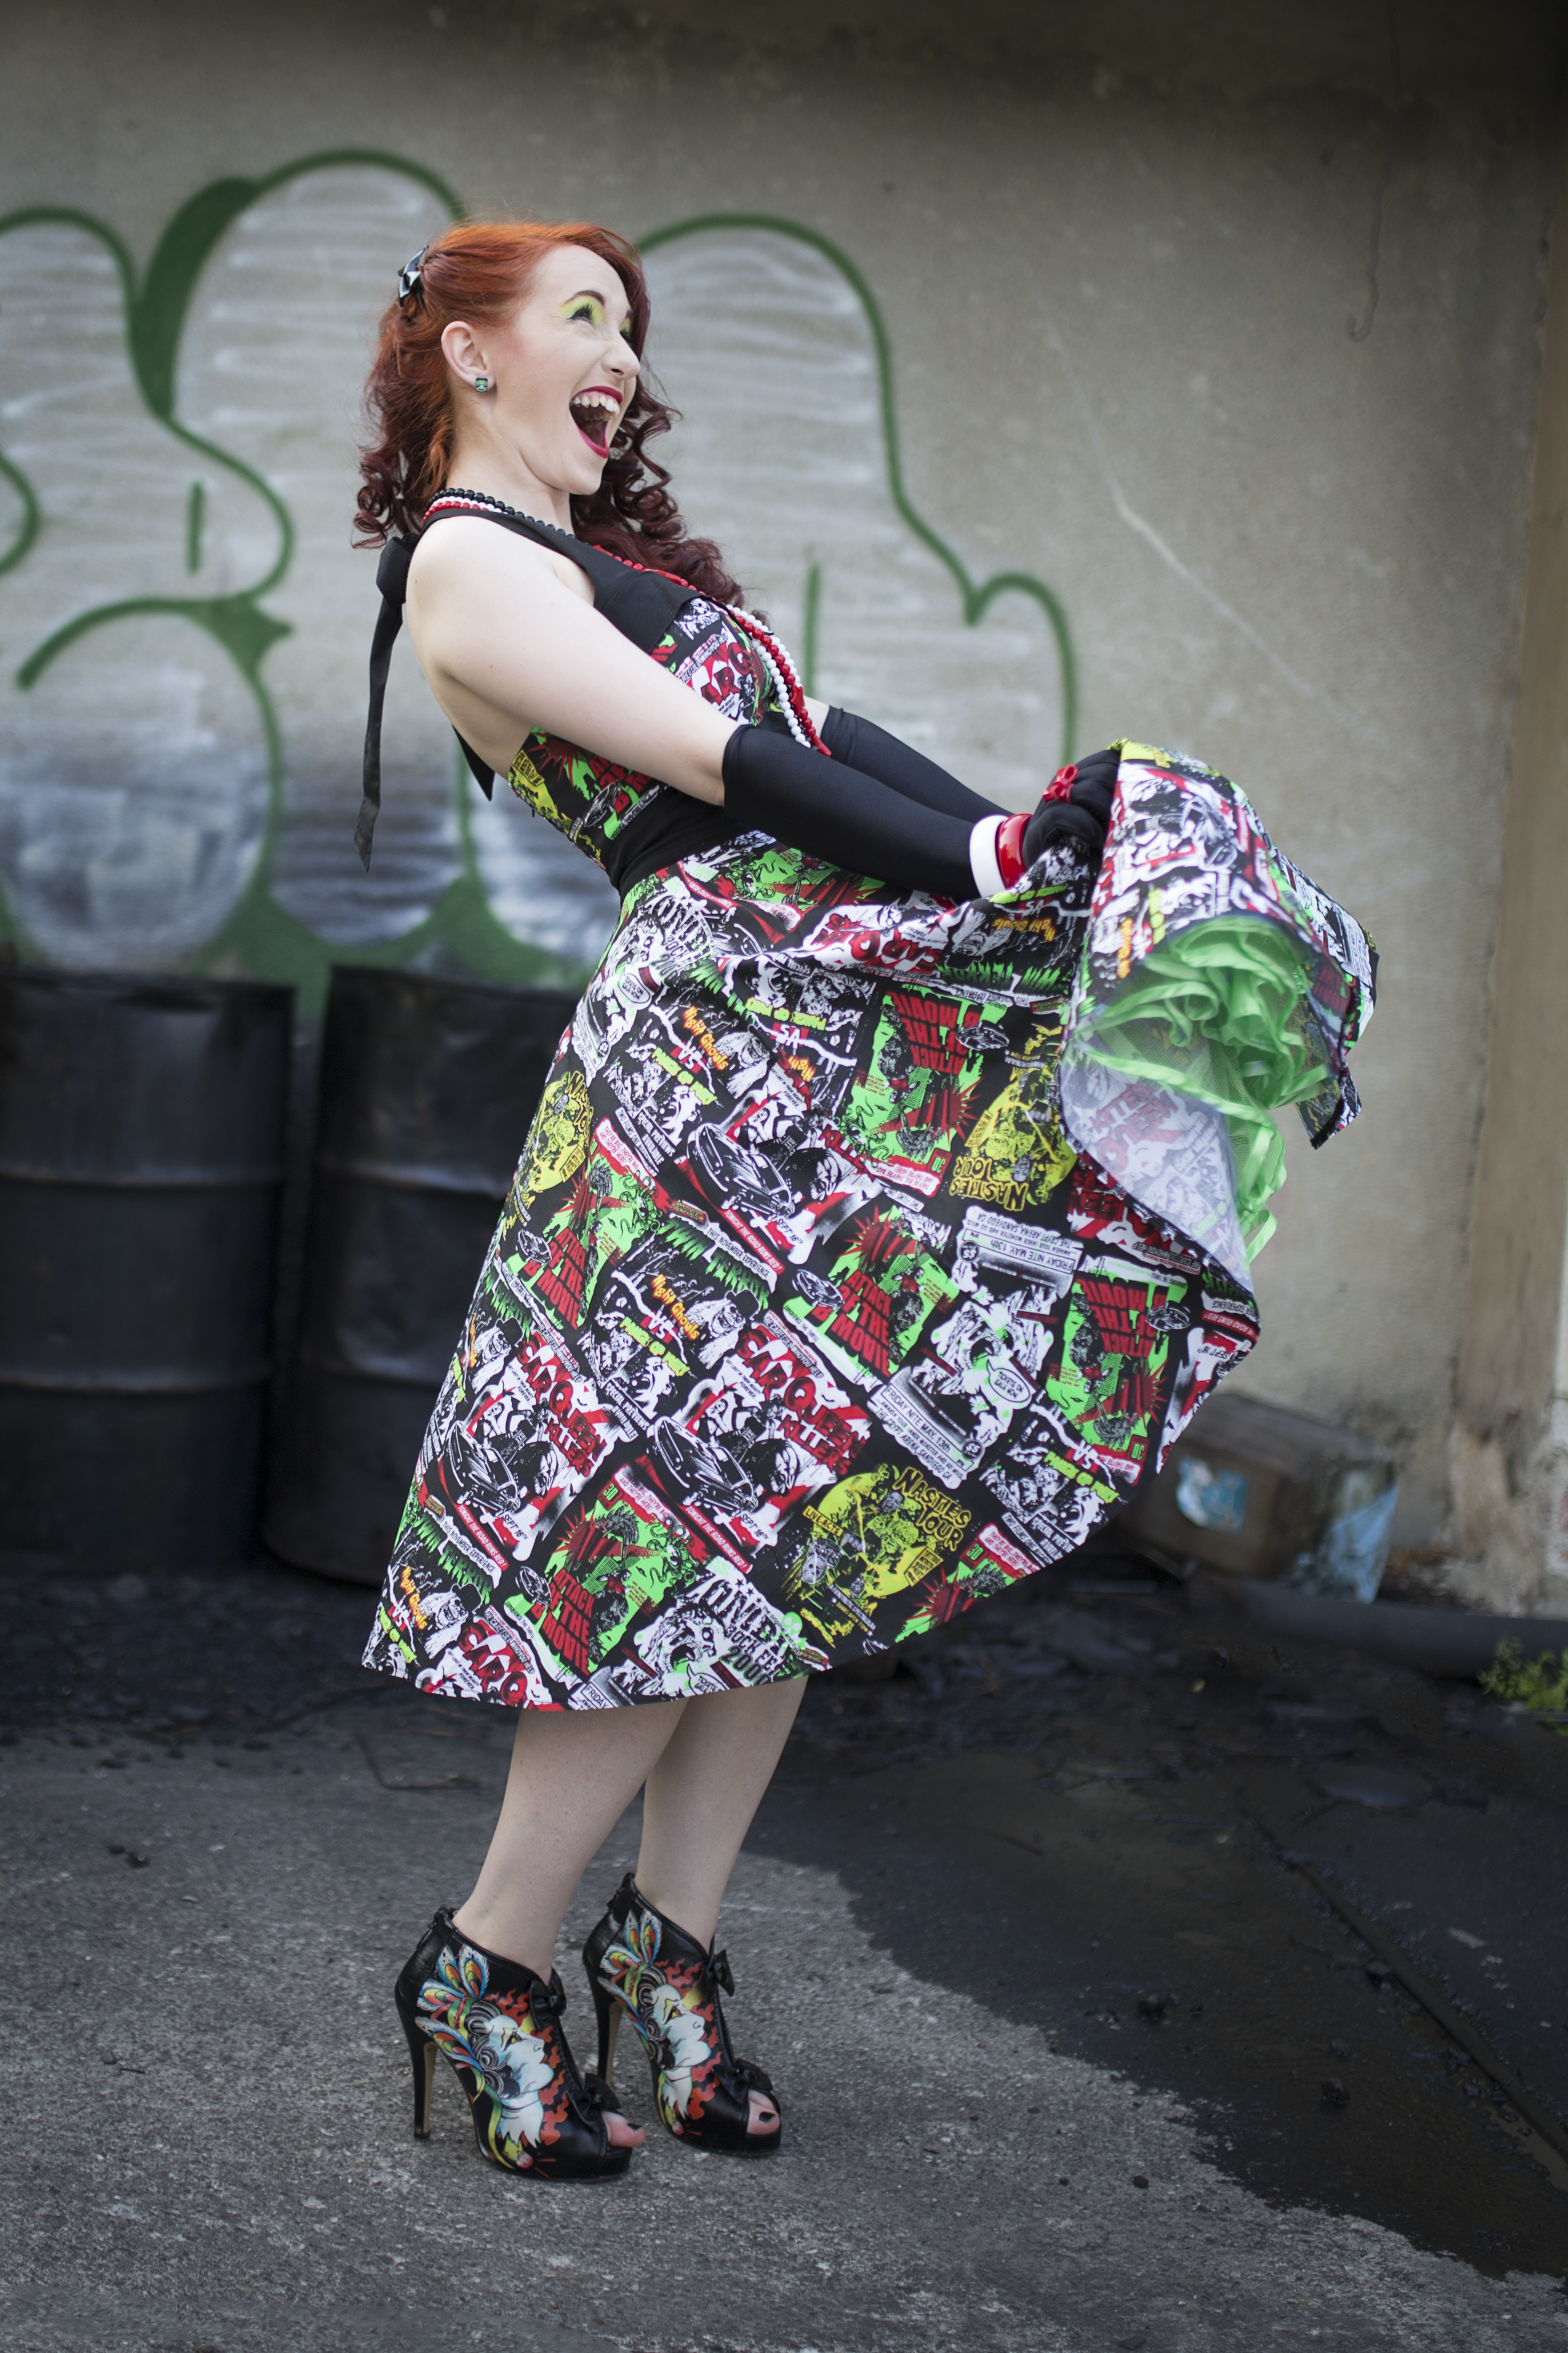
And yes, you will need to have neat hair. Your everyday hair or frizzy ends will not really cut it. If it needs to be straight, you will need to iron it, even if you are naturally straight-haired. If it needs to be in curlers, you will need to test the setting pattern and practice curling your ends to avoid the dreaded crinkle/frizz. Vintage hairstyles rely heavily on a good brush-out, and gothic or fantasy hairstyles will sometimes be even more elaborate. Even if you are going for a tousled, dragged-through-the-hedge-backwards look, it will take doing, preparing and styling properly.
Wigs are a different matter, and I don’t really use them myself. But they will need to be styled too, so everything that goes for your hair, goes more or less for them. Remember: a cheap looking and/or messy wig will cheapen your entire outfit.
Incidentally, a few days before the shoot might be the best time to dye your hair, if you intend on doing so. I myself am guilty of dyeing it the night before, and then having to hide dyed bits of my forehead or ear with makeup.

4. Prepare your photo shoot outfit(s)
Pick the clothing you will be wearing, make sure it is clean, mended (in case of true vintage garments) and ironed. Or, alternatively, make sure that it is smudged, torn and distressed where needed in case you are doing that kind of a photo shoot. You are showing yourself, and the garments you are wearing in the best possible light. Sometimes this will include making sure you have safety pins to pin too long straps or a dress that is just a little too wide at the waist, or having your dress altered beforehand. I personally never dare to have the dresses I shoot altered before, as I constantly fuss about someone doing it wrong or ruining the dress, or not finishing it in time.
And once again, I will repeat: Make sure your clothing is ironed. Nothing says sloppy and superficial like a wrinkled dress at a photo shoot. And no, a dress just pulled out of its package does not count as ironed. Do you really want to be known as “that wrinkled one” or “the slob”?
If you are scared of burning a garment, check the inside label. It will tell you the setting you can safely iron it at. Or, start with the lowest possible setting and raise the temperature incrementally, until you find one that works and you feel comfortable with. If it says no ironing, hang it in the bathroom while you take a shower. The steam from your shower will help iron out the wrinkles.

5. Prepare accessories
Hang your clothing from a closet door or a coat hanger, pull out your jewellery box, your shoe boxes, scarves, gloves, hats and sundry, and pick and choose. Open your pinterest board if you made one, grab your inspirational video or photo, grab a buddy, grab a pet to talk to them, and start accessorizing. Hold your jewellery and accessories against the garment (careful, in case it’s shoes that still need cleaning!), see what matches and what clashes, what best reflects your idea, and then put those accessories in a ziplock baggie (unless too bulky), write the name of the outfit that they go with, and preferably hang them on the same hanger. Repeat until done.
Polish your shoes, mend any gloves and brush your hats with a lint brush.
6. Make a photo shoot list
It doesn’t matter if you are shooting one or 5 outfits, prepare a good list. It should contain two sections: General, and outfits. The general should contain everything you might need on the shoot: something to fix your makeup (I have a small toiletries bag I toss makeup in as I am done with it, instead of returning it to the makeup case, and then take that with me), brushes, hair pins, teasing comb, hairspray, extra safety pins and a lint roller, maybe even needle and thread. Also, add some bug spray if you are shooting outdoors.
Outfits should contain a list of the shooting order of your clothing and a sub-list of all the accessories that you chose to go with them.

7. Pack for the day of the photo shoot
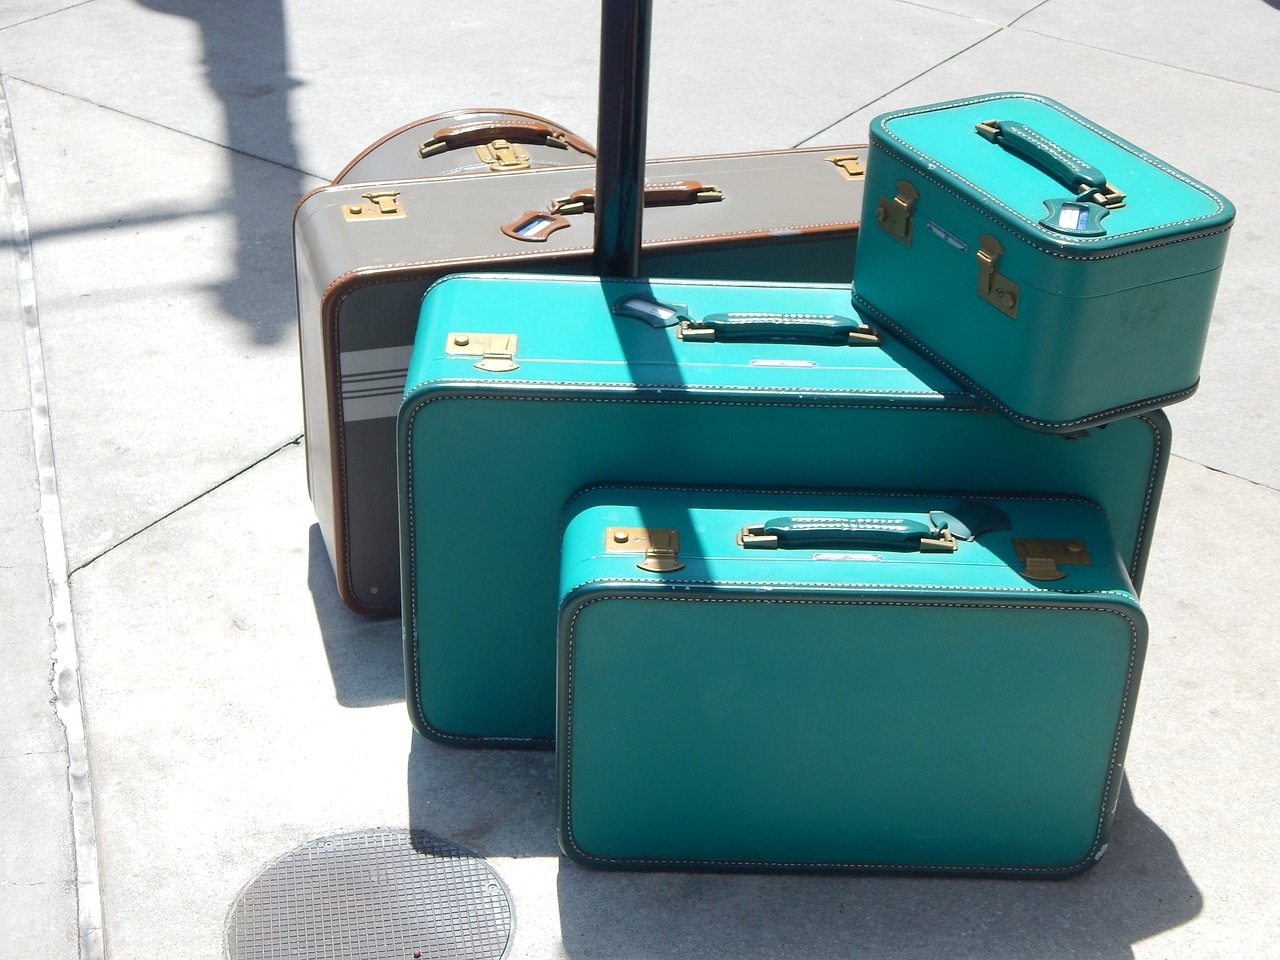
Hang your garments in a garment bag or somewhere where they won’t wrinkle or get pet fur on them. Pack your accessories in a suitcase or a suitable bag, double check your list, and then put away everything you will not be using. Tidying up is a great way to close a chapter in your mind, to say to yourself- right, this is now done, I have finished preparing everything outside myself. Now it’s time to focus on me.
8. Prepare yourself
You are the most important part of the photo shoot. Now that everything else is taken care of, you can focus on the heart of the matter. Drinking enough water should already be in your daily routine, and it really pays off to stick to it a few days before the shoot. On a similar note, avoid staying up late the day before the shoot, or doing any heavy partying or drinking.
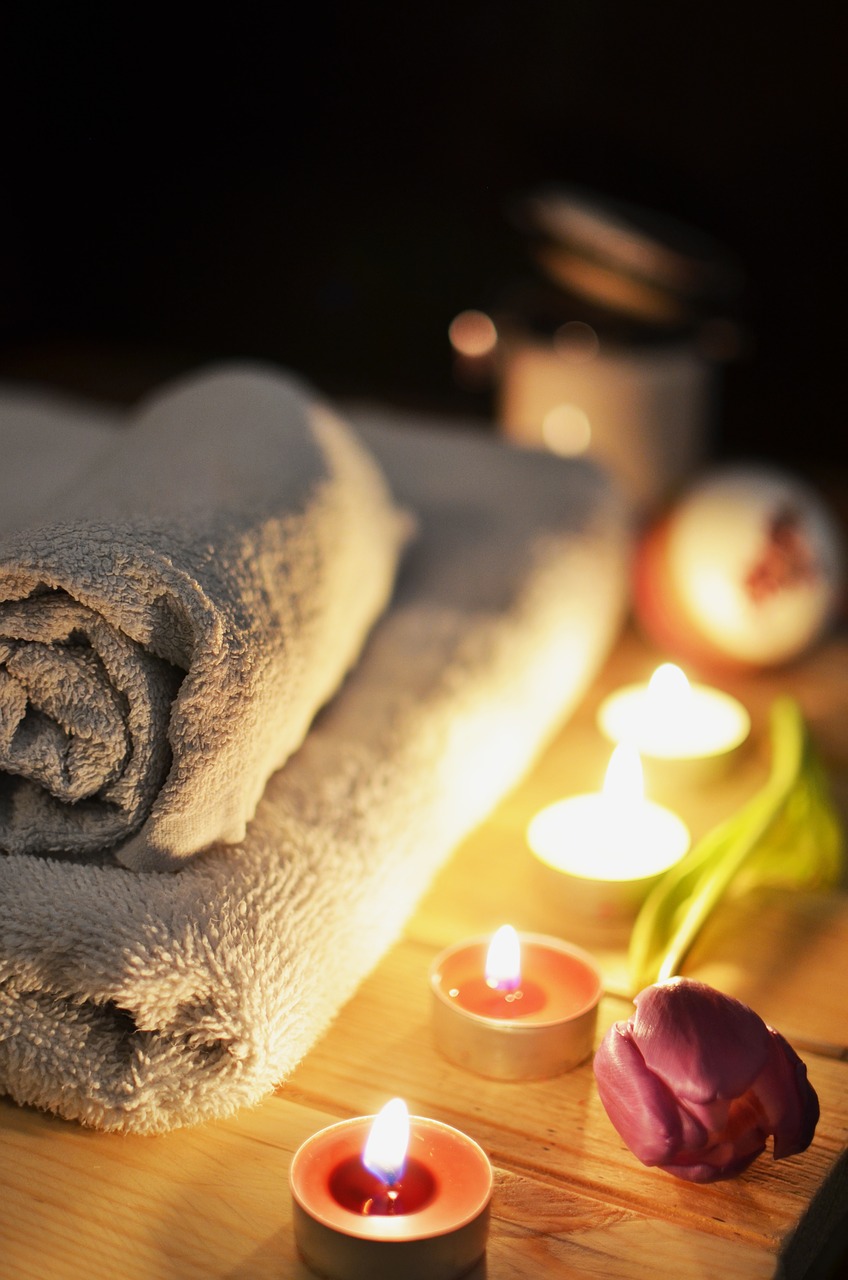
Take a nice bath, or a nice long shower, moisturise, pamper your face with a nice face mask (but not one you haven’t used before! You don’t want to risk showing up to a shoot with a horrible breakout), set your hair if you are going for an overnight curling method, or wash it and let it air dry if you will be setting it in some other way tomorrow (washing it on the morning of the shoot will make it much harder to style, and you can always add a bit of dry shampoo to combat possible oil and give it more texture, if needed), and finally go to bed at a reasonable hour. No makeup or treatment in the world can replace a good night’s sleep.
When things don’t go according to plan:
This list holds true even if the order is changed. For instance, if you are doing your prepping throughout the week, when you find the time, you will of course pair your accessories before you iron your clothing, and then pack and put everything away, leaving you just to prepare the clothing and yourself the evening before or the day of the shoot.
Sometimes your photographer will suggest or choose another location, sometimes the weather will be wrong despite the forecast. Sometimes you will find you forgot something, despite your list and best effort, or your car will break down, or you will sleep poorly, or fall sick, or wake up with a huge zit on your face. That’s life. It happens. It all happened to me a million times. What’s important is that you always try your best and make an effort beforehand. As for the rest of it, you will just have to learn to roll with it.
Until next time!
xoxo